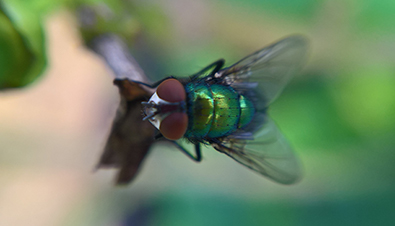
You’ve all seen them, right? Nice photos of pests you’ve been asked to keep an eye out for. But when you actually take a closer look, you realise they would be much smaller in real life.
Plant Health Australia’s Rod Turner warns people not to be fooled by all of the enlarged photos of pests in fact sheets.
“The small size of your average pest isn’t going to make it easy for you find it, let alone see it in enough detail to identify it. They are often much smaller than you realise,” said Rod.
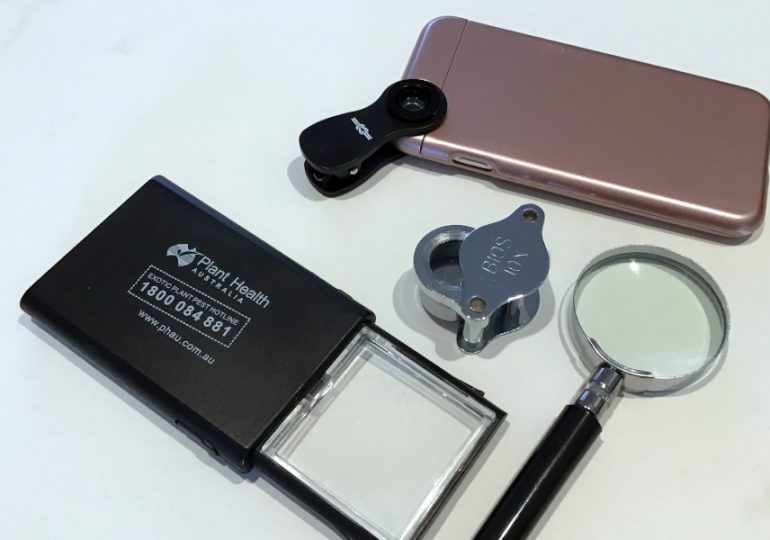
That’s what makes a handheld magnifying lens an essential part of any biosecurity toolkit.
“If the full-grown adult pest is less than a millimetre in length, the eggs, newly hatched larvae or young adults will be even smaller.”
“If you need to look at mouth parts, the tail end, or characteristic spots on wings or something like that you are definitely going to need about 5 to 10x magnifying lens.”
Jewellers or watchmakers ‘loupes’ are available for 10 times magnification. Some include a light so they can be used in low light situations.
Being asked to spot something unusual compared to your usual suspects might not be that simple.
“It’s a big ask to identify some of these pests, and even if your eyes are pretty good it’s worth investing in a magnifying lens so you don’t overlook anything important.”
If you do find something unusual, a macro lens that attaches to a mobile phone so that you can take a photo of it is a really useful thing to have nearby.
A cutting knife, or pair of secateurs, depending on what you are looking for and where, are useful too.
Taking photos
Generally, the normal camera on your mobile device should be used to get a broader view of the situation, and a photo of the overall damage to the plant or number of pests. This can be useful when trying to identify a pest or disease.
Clearer photos will help identify the problem. Below are some simple tips to help you.
- Choose your location – if it’s windy, carefully remove a sample and take the photo in a sheltered place.
- Keep your lens clean – grime and fingerprints on the lens will give hazy, dark images.
- Focus on your subject – when in camera mode, tap the screen of your device screen to select the part of the image you would like to be in focus, then press the shutter release button.
- Image quality is important – set the image resolution as high as possible, so an expert can zoom in on the image to look at fine details.
- Get close to your subject – digital zoom will degrade your image quality so get as close as you can.
- Take photos from different angles – if you can, take photos from different angles so there’s a better chance of getting all the features needed to identify the pest or disease.
- Try not to use the flash – bright light can change the appearance of a pest’s natural markings.
The first ten people to fill in the contact us form will receive a free magnifying lens for a mobile device. You’ll know you’ve won if we reply and ask for a delivery address.
Links
Some tips on how to take photos of insects and disease symptoms have been included in this fact sheet.
More from Farm Biosecurity
More from Plant Health Australia