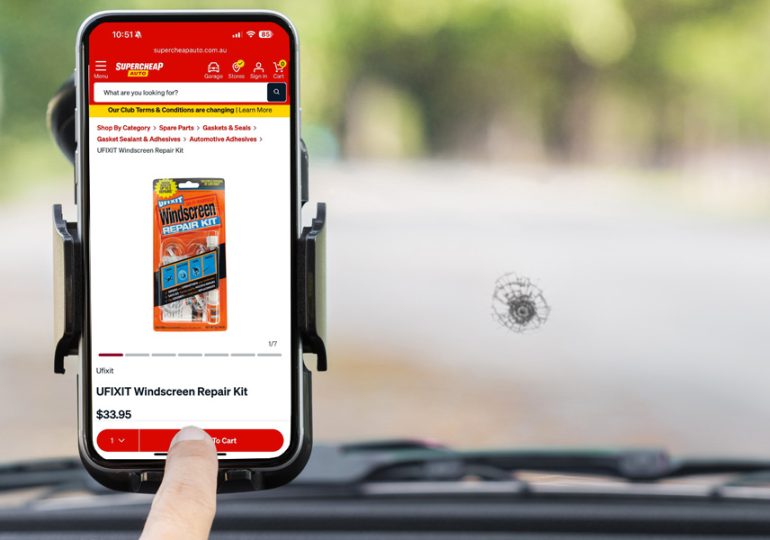
How do you fix a windscreen crack and what is the difference between a crack and a chip? A small crack in your windscreen might seem harmless, but left untreated it can quickly spread and compromise the safety of your vehicle. Thankfully, repairing small cracks is easier than you might think, and you can do it yourself with a Ufixit Windscreen Repair Kit. Designed for DIY use, the kit can safely repair windscreen cracks, preventing them from worsening and restoring the glass’s strength and clarity.
What You’ll Need:
- Ufixit Windscreen Repair Kit
- Clean, dry cloth
- Glass cleaner (do not use directly on damaged area)
- A safe, shaded area to work (out of direct sunlight)
Important Note Before You Begin:
If you are wanting to know how to how to fix a windscreen crack, it’s important to first make sure you know it is a crack you want to repair. The biggest mistake people make when using a DIY kit is using the wrong repair method to fix their damaged windscreen. There are 2 different types of windscreen damage.
Type 1 – Chips and Bull’s Eyes
For chips and bull’s eyes, you’ll see the impact point on the windscreen surface, while the cracks and fractures remain trapped between the layers of glass. The only way to access and repair this type of break is through the impact point itself. A resin applicator is required to inject resin under pressure into the affected area. Chips and bull’s eyes typically look like this:


Type 2 – Star Chips and Crack
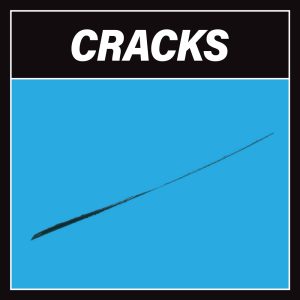
Star chips and surface cracks feature multiple fine cracks radiating across the outer layer of the windscreen. In these cases, the fractures remain on the surface and can be repaired by applying resin along the entire length of each crack, secured with curing strips. No applicator is necessary, as the resin is placed directly onto the surface. Cracks and star chips typically look like this:


Step by Step Instructions:
-
Clean the Area
Use a clean cloth to gently wipe down the glass around the crack. You can use a mild glass cleaner to remove any dirt or residue around the damage. Do not apply and cleaning chemicals directly to the damage as this may affect the quality and strength of the final repair.
-
Apply the Resin
Unlike chip repairs, there’s no need for an applicator or plunger device here. Carefully apply a few drops of the special Ufixit resin directly along the length of the crack. Work slowly to ensure the resin seeps into the crack evenly.
-
Place the Curing Film
Place a piece of the included curing film over the resin covered area of the crack. The film will naturally adhere to the resin, so you don’t need to apply any pressure.
-
Continue applying resin and curing strips.
Continue to apply the resin and curing strips until the entire length of the crack is filled. Cover the resin and damage with curing strips.
-
Allow enough time for the air to be removed from the cracks
Inspect the cracks by looking at a 45° angle along the side of the crack. You will be able to see the depth of the crack. Any air in the crack will look like a dark colour in the crack and when removed the crack should start to disappear.
If air is still trapped in the crack, please allow enough time for the air to naturally work its way out of the damage. To speed up the process, a few seconds of gentle heat applied to the inside of the windscreen (using a hair dryer or cigarette lighter) can help expand and contract the glass, forcing out any remaining air. Please allow time for the windscreen to totally cool down before reapplying the heat. The cooling down (contraction) of the glass is what forces the air out and replaces it with the repair resin.
-
Move the Car into Direct Sunlight
Once the air is totally removed for the damage, move your car in direct sunlight. The UV light from the sun will harden the resin. Leave it in the sun for about 10 minutes. Even on a cloudy day there is enough UV Light coming from the sun to cure the resin.
-
Remove Curing Film and Scrape Excess
Once the resin is fully cured, peel off the curing film. Use a razor blade (included in the kit) to gently scrape away any excess resin from the surface. Hold the razor blade at a 90° angle to ensure you leave a smooth finish.
-
Clean and Inspect
Wipe the area clean with a soft cloth. You should now have fully repaired the crack, and most importantly, restored your windscreen’s strength.
Why Use Ufixit for Crack Repairs?
Unlike some kits made for a single stone chip, the Ufixit kit repairs straight line cracks up to 300mm. There’s no applicator required for cracks, just direct resin application and curing film for a safe, effective, and affordable result.
So now you know how to fix a windscreen crack, but what if you have a windscreen chip instead?
The Ufixit kit can also fix multiple chips and bullseyes with an applicator device included for these types of damages. We’ll cover that in a separate guide soon!
Where to Buy?
Shop online or in-store at Supercheap Auto, Repco, Autobarn, or ask for UFIXIT at your favourite auto accessories store.
Unlike some kits made for a single stone chip, the Ufixit kit repairs straight line cracks up to 300mm. There’s no applicator required for cracks, just direct resin application and curing film for a safe, effective, and affordable result.

